Main | Tools and Materials | Winding the Coils | Cutting the Rings | Knitting the Maille
List of Weaves | My Armour Project | Accessories | List of Armour Terms
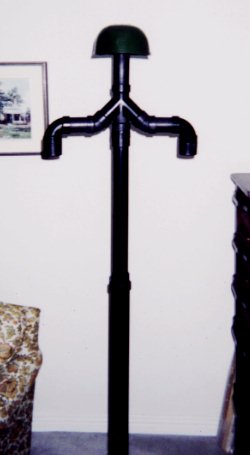
Here are a couple of quick pics of the armour stand I made. I put it together using ABS plumbing pipe I picked up at Home Depot.I wasnt too keen on making an ordinary T stand out of a couple of 2 × 4s nailed together. It would not have been very sturdy, it would have been clumsy to transport, and it kind of would have looked like...well...2 × 4s. I had to find something that looked good, and yet was study, light weight, and easy to transport. That is when I thought about using ABS pipe.
The resulting stand is light weight, strong, and easily disassembled for transport.
It looks rather handsome, doesnt it?
Buying all the materials from a store, such as Home Depot, one should be able to create a simple yet attractive T stand for $30.00 CDN or less (about $20.00 U.S.).
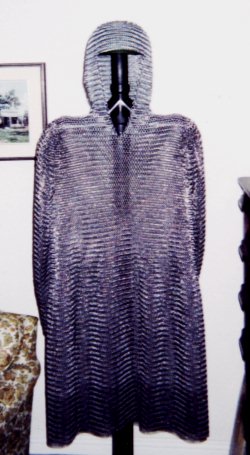
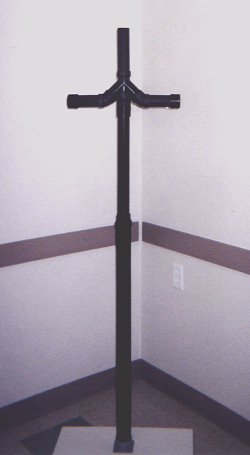
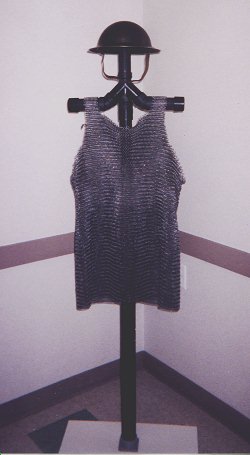
Since the above photos were taken, I have made a few small modifications to the armour stand. I cut the back of the base into a wedge shape, so I can easily place the stand into the corner of any room. I also attached a plastic childrens toy helmet to the top of the stand, creating a head like shape to better support a coif and helmet. Lastly, I replaced the end caps at the shoulders with 90º pipe elbows, which give the armour stand, and the armour displayed on it, more natural looking rounded shoulders. Here are a couple of more recent pics:
That brings me to another advantage of using ABS pipe. With all of the various joints and fittings available, it is possible to customize an armour stand in a wide range of looks. Now that my hauberk has sleeves, for example, I have added a pair of arms to my stand. Ive even arranged the arms to hold a wicked pole arm, such as a glaive, for dramatic effect.