| June 6,
2003:
Crunch time.
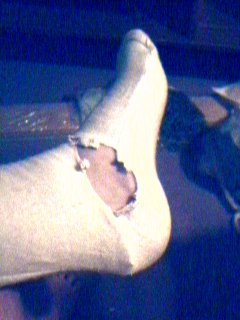
I had only five hours until I had to be at the school demo, and my smurf
pants consisted of just one leg with a ill fitting foot with a pair of
holes in it. I would have to fix the foot problem before I could
proceed.
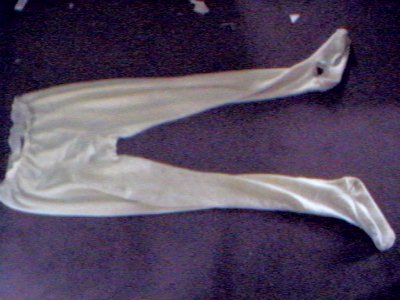
I put on
the left leg, and carefully studied the problems...
-
The heel of
the sole of the foot was in the wrong position. The seam, in fact
so far forward, that it would be under my foot when I walked, which could
be very uncomfortable, if not painful.
-
The pattern
from the sock was rectangular. It fit well at the toes, but was too
small at the ankle, particularly along the arch on the inside of the foot.
-
The seam behind
the heel seemed to be the right size, and fit nicely with the back
end of the sole piece. If the top of the foot was widened, this seam
would have to be widened as well.
I set
to work.
First I
used a pencil to mark where the heel seam was supposed to be on the foot,
then measured the distance from this mark to where the heel seam actually
was. This turned out to be a difference of 1 inch. I lengthened
the sole pattern by the appropriate amount, and subtracted the same amount
from the back side of the leg pattern.
I measured
the distance around my arch and ankle at the point where the left foot
had been too tight, and discovered that I needed to widen it by three inches
on the inside portion, and another inch on the outside.
Since the
seam at the back of the heel was the right width, I had to to add a pair
of triangles to the sides of the pattern to keep this seam the same width.
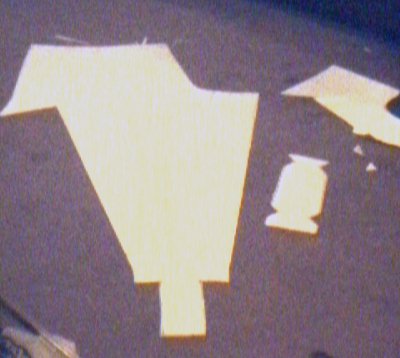
You can
see the changes I made to the pattern in the photo below.
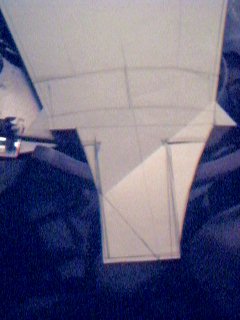
The amended version of the
pattern.
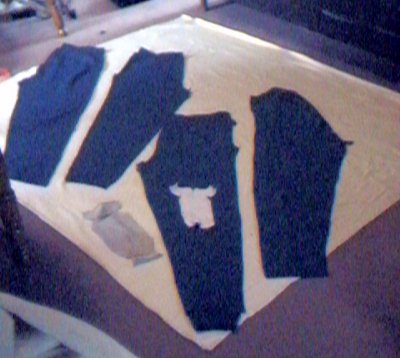
I proceeded
to construct the right leg using the new version of the pattern.
When it came time to try this version, I found the ankle to still be just
slightly snug as I put my foot through, but the fit was excellent once
I had it inside.
I was able
to breathe a sigh of relief.
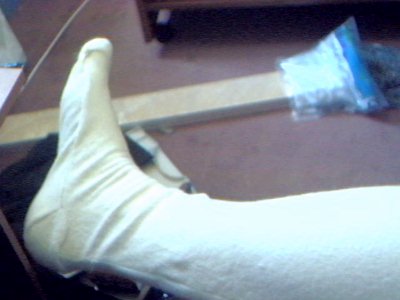
The right foot fit well.
|